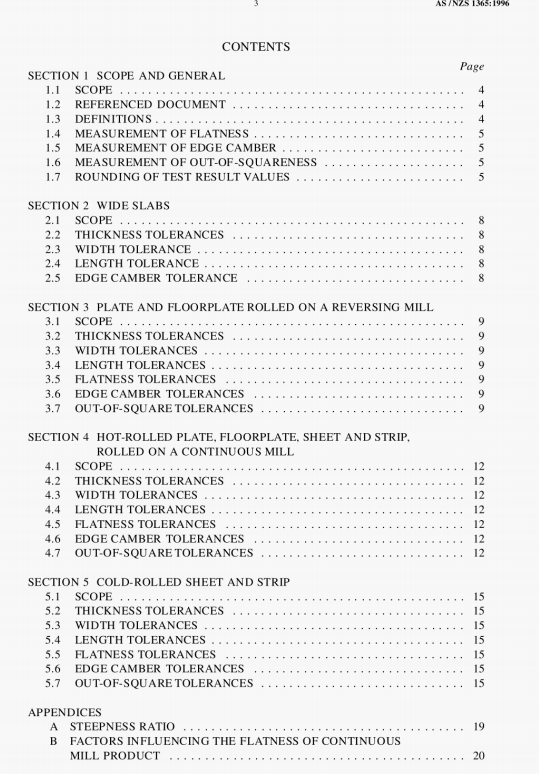
AS/NZS 1365:1996 pdf – Tolerances for flat-rolled steel products.
1.3.8 Strip—a continuously rolled product of any width and thickness, supplied in coil form. Edges are either trimmed or untrimmed.
1.3.9 Transverse direction—the direction at right angles to the direction of the greatest extension of the steel during rolling.
1.3.10 Wide slab—a semi-finished rolled or continuously cast flat product having a rectangular cross-section. a thickness greater than 100 mm and a width-to-thickness ratio nOt less than 4:1.
1.4 MEASUREMENT OF FLATNESS To measure flatness, the product. resting under its own weight, is placed on a flat horizontal surface in such a manner that any deviation from flatness is in the centre of the product, not at the ends. Deviations from flatness are measured by allowing a straightedge to rest on at least two points on the product surface and then measuring the distance between the product and the straightedge (see Figure 1.1 (a)). Only that portion situated between two consecutive points of contact is taken into consideration. The straightedge may be placed in any direction.
Where two points of contact do not exist, the deviation may be determined by measuring the distance between the flat horizontal surface and the bottom surface of the product (see Figure 1.1 (b)).
An alternative method for expressing flatness is to calculate the steepness ratio (see Appendix A).
1.5 MEASUREMENT OF EDGE CAMBER To measure edge camber the product is laid on a flat horizontal surface and a straightedge is placed on the concave side edge. The maximum distance between the side edge and the straightedge (wi) is then measured (see Figure 1.2). Camber is expressed as a percentage of the measured value divided by the length of sheet.
1.6 MEASUREMENT OF OUT-OF-SQUARENESS The deviation from squareness of a length cut from trimmed-edge steel strip is measured by scribing a line normal to the trimmed edge adjacent to the cut. The out-of-squareness is expressed as a percentage of the measured value of deviation from square divided by the nominal width (see Figure 1.3).
1.7 ROUNDING OF TEST RESULT VALUES For the purpose of assessing compliance with this Standard. the specified limiting values shall be interpreted in accordance with the ‘rounding method’ described in AS 2706, i.e. the observed or calculated value shall be rounded to the same number of figures as in the specified limiting value and then compared with the specified limiting value. For example, for specified limiting values of 2.5. 2.50, and 2.500, the observed or calculated value would be rounded respectively to the nearest 0.1. 0.Ol. or 0.001.
AS/NZS 1365:1996 pdf – Tolerances for flat-rolled steel products
